Digital Photography Albums
MATERIALS
- 6x6 button and string envelopes or flexible plastic cd envelopes
- Card stock or decorative paper
- Self-adhesive laminating sheets
- A pencil
- Prong picture hangers
- Loose leaf 1-inch rings
- A pen
- Decorative elements like colored tape, ribbon, or a measuring tape
- Scissors
- Ruler
DIRECTIONS
To make your album covers, trace one envelope onto your decorative paper or card stock and cut with scissors. Do this twice, one for the front cover and one for the back. We want to use these self-adhesive laminating sheets to make the cover as sturdy as possible.
Choose the topic of the album. I chose to make an album for my daughter’s digital photo disks.
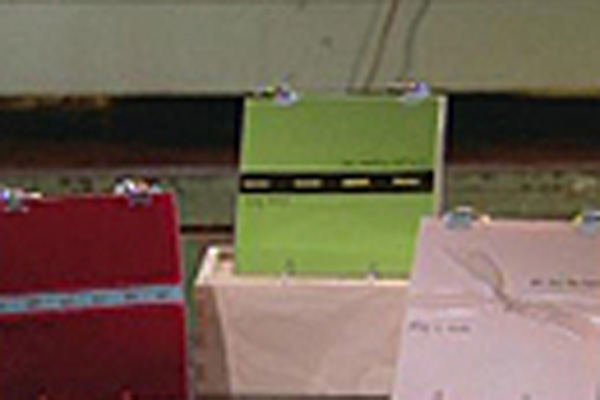
Cut measuring tape and glue to the center of your square. Write text above and below it.
Just peel the backs off laminate paper and lay your card stock on the sticky-side, smooth it down a little, and with another sheet of laminating paper, cover the back. Smooth it down with a ruler to make sure there are no air bubbles and trim the edges close, but not all the way up to the edge of the covers.
Decide how many pages you need in your booklet.
Measure one inch in from either edge on the non-flap side of the envelope and mark with a pencil. Do this on all envelopes and the front and back covers.
Center the prong over the pencil mark and punch through the paper. Turn over the envelopes and with scissors, press and fold the prongs down.
Label each envelope either by year, occasion, or memory.
Then, grab one of your loose leaf rings and attach your pages together.