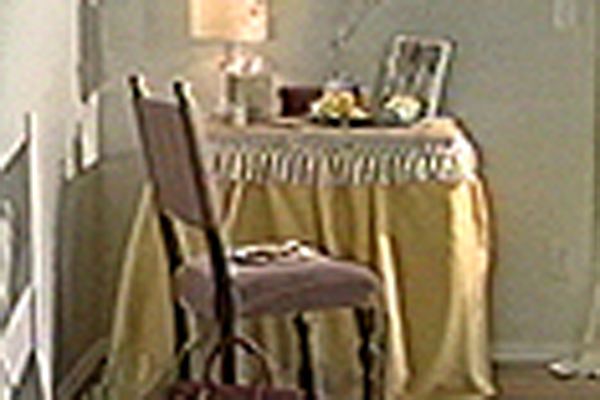
Dressed Up Vanity Table
MATERIALS
- Old table that could use a facelift
- ½" plywood cut to the size of your table top
- Netting or tulle (twice as long as the circumference of the table top)
- Crib batting
- Fabric 1-for the top of the table-give your self an additional ten inches for both measurements
- Fabric 2-for the skirt of the table-the length should be equivalent to one and a half times around your table
- Trim 1-for the top of the table
- Trim 2-for the skirt of the table
- Approximately 30 upholstery tacks
- Scissors
- Staple gun
- Hammer
- Measuring tape
DIRECTIONS
Lay the batting flat on your work surface and place the plywood on top, leaving about 5 inches on all sides.
Cut out the corners and fold over sides. Attach with staple gun. Trim if necessary.
Place the fabric for the table top under the batted board, again leaving about 5 inches on all sides. If it has a pattern, make sure it's straight. Fold the fabric over and staple onto the back of the board. Again cut out each corner so the fabric lies relatively flat.
When adding the skirt, remember to work from the outside in, attaching the outer layer before the under-skirting. Measure the height of the table for the length of the skirt. If possible, work on the surface of the table you are covering to eliminate any guesswork.
Start at one corner of the fabric and fold it back to create a clean edge. Attach with staple gun.
The pleats should be equally spaced and about 3 inches deep. Use your fingers as a guide. Attach each one with the staple gun. Pay attention to the hem of the skirt as you are working, making sure it remains straight.
For the under-skirting (the netting or tulle), the process is the same except you should make several more pleats-approximately double. This will really give your table a nice fullness.
Next, turn it over to attach the trims.
Start at the back and wrap the trim around the top of the table. Measure out and mark where you'd like to place the upholstery tacks, approximately every 8 inches. Use a little scotch tape to hold the trim in place if needed.
Hammer in tacks.
To attach the second trim, turn the top over one more time and attach it to the underside with staple gun.