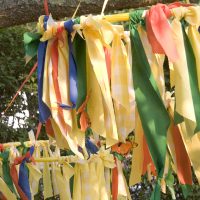
Herb Drying Rack DIY
MATERIALS
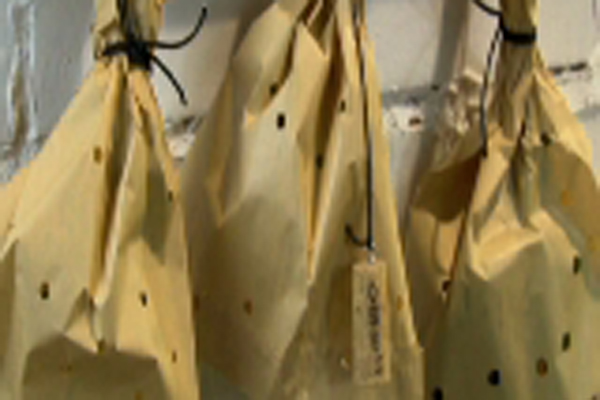
- Small paper bags
- Hole punch
- Fresh herbs
- Twine or leather cord
- Ink pad
- Stencils
- Wood rack
- Wine corks
- Eye hooks
- Paint (optional)
DIRECTIONS
Hang your rack. You can paint or stain it to your liking.
Fold your paper bag in different sections and punch holes with the hole puncher. You want at least a dozen holes on the bag.
Decide which herb bags you want to stamp. Using an ink pad and stamp, spell out the herb names on the paper bag.
Leave 1 to 2 inches of the stalks outside of the opening of the bag. Use your twine or leather cord to secure the open end of the bag to the stalks.
Tie bags upside down (stalks up) to the rack. Drying times can vary from a few days to a week or two.
Label the other herb bags with collected wine corks and stamps. Hand-screw the eyehole to the top of the cork and attach to corresponding herb bag.