Flower & Ribbon Trays
MATERIALS
- 12 x 14.5-inch plywood boards
- Copier paper
- Self-adhesive laminating paper
- Acrylic paint
- Flower
- Black ribbon
- Scotch tape
- Water-based clear varnish
- Copier
- Pencil or pen
- Razor blade
- Cutting board
- Stencil brush
- Disposable paintbrush
- Hot glue gun
- Small dish for paint
DIRECTIONS
Start with a black and white copy of a flower.
Before cutting, cover both sides of your stencil with self-adhesive laminating paper.
On the cutting board, begin cutting with the razor blade. It’s just like carving a jack-o-lantern. The part you take out can be cut in several little pieces, but the cleaner your outline, the cleaner your stencil.
FOR PAINTING WITH THE STENCIL
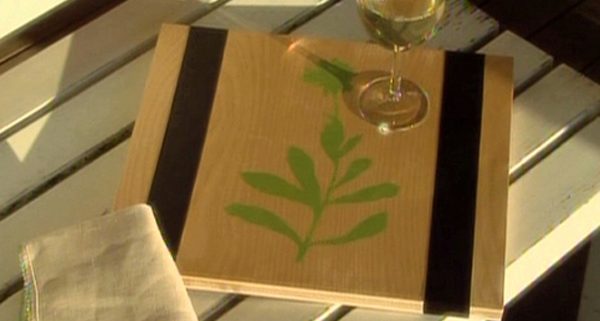
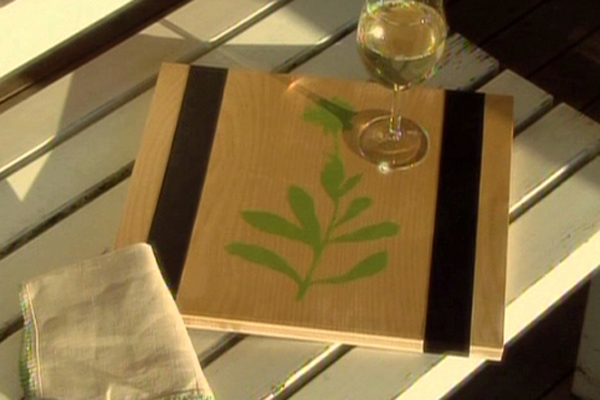
- Lay the stencil on the board. Tape it securely in place.
- Put a small amount of paint on your dish and dab your brush in the paint. Stenciling does not require very much paint. In fact, it’s better to go lightly.
- When you’re finished, carefully remove the stencil.
- When the painted area is dry, wrap ribbon around the board, cut, and secure temporarily on back with scotch tape. Use hot glue on back to attach ribbon.
- Varnish top and sides of the board including the ribbons. Apply 2 coats per the directions.

